![]()
![]()
![]()
![]()
![]()
|
Lesson 7: Adding Graphics and Organizing them for your Web Continued. |
Now lets add graphics to our webpage. First step cleaning and resizing a graphic click here for step by step instructions. Now you should already have your graphics reworked and converted to the best
size your comfortable with. It's very easy to insert a graphic into
FrontPage. Just position your cursor on the page where you want your
graphic to appear. click on the word insert, click on picture, click on from
file, find your graphics folder or picture located on your hard drive and click
it an the picture is now part of your website. We will
insert a mouse here>
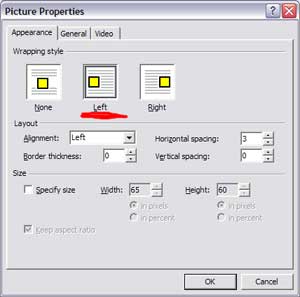
NOTE: something doesn't look right... now theirs unwanted space between the words an the picture..? Hummm what happened. By inserting your graphic you've caused this space to appear. So to make the text wrap around the graphic and get rid of this unwanted space do the following. I'm going to reinsert the graphic as we do this step.
Graphic 3
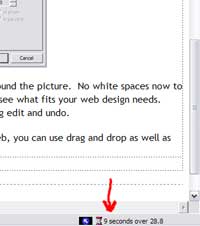
I choose to set the mouse to the left with words wrapping around the picture. No white spaces now to mess up my web page design. Play with these settings an see what fits your web design needs. Everything can be undone by clicking edit and undo. Note: their are many ways of inserting a graphic into your web, you can use drag and drop as well as using the insert menu in this lesson. Just remember to check your load time, bottom right of your display.. keep your load time fast.... see graphic 4 Graphic 4
I hope you've enjoyed this lesson any questions can be
directed to me by using the feedback page.. |
|
Back to Top |
|
|