|
Lesson 7 |
||||
|
|
||||
|
|
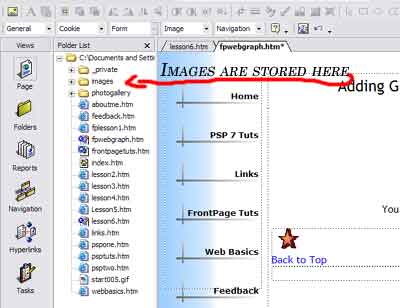
Adding Graphics and Organizing them for your Web First let me state keep your site organized and clean. It really pays big time as your site grows. Use the folders FrontPage creates for you and add more when you need them. ( to add folders: for this example lets add a new folder to our image folder. Right click on the image folder, choose new, then choose folder, name the folder... you now have a new folder to hold your graphics) see graphic 2 If your adding graphics or images to your site, put them in a specific image folder when possible. ( note: some images can not go in this folder if using java scripts or coding that requires the pic to be in the root directory) See the below graphics to see the layout for this website. Graphic 1 Now see the image folder opened...
Using this website as the example. The first graphic, shows you
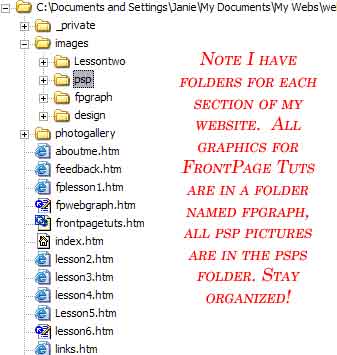
a folder called images. Graphic 2 shows you the image
folder once it's been opened. ( to open click the plus (+) sign next to the folder).
The design folder is were I place all the backgrounds, buttons, and design
elements. I STRONGLY suggest you create an area on your hard drive for your web
graphics. Hint: I save my finished jpeg, or gif
strait to my website image folders on my hard drive. So when I wish to
insert a graphic I don't have to go searching for it. I save my raw pictures to
a folder named for my website example: c:/My Documents/Webturnsgraph/. So I know
where the pictures or graphics to be worked for the website can be easily
accessed.
|