|
|
|
PSP Tut 5 Part 4 |
||||
|
|
||||
|
|
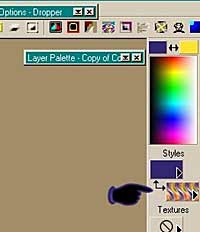
Now, go to your eyedropper, and LEFT click on a color of your image that is darker color than your pattern colors, it should now be the color above your pattern. I used the dark blue in her shoes for mine.
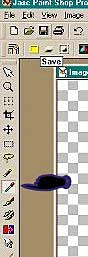
Now at the bottom left side of psp is your preset shapes button, click on it and the shapes will load.
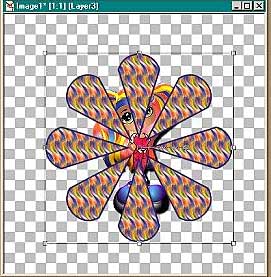
Find a flower to use, I used flower 7.....Make sure Retain style is NOT Checked. Check Antialias and create as vector line width 2.
Make your flower, just a bit bigger than your image. Left click your mouse and hold the button down and just drag until you get your flower the size you want it to be. It will only be an outline until you let go of the mouse button and when you do you will see a box and little nodules around your flower, using the different nodules you can make your flower bigger or smaller. When you get your flower the size you want it, you need to change the layer from vector to raster. Go to Layers and select CONVERT TO RASTER LAYER, and the box will disappear.
Do the inner bevel using the same settings as before.
|